What You'll Have at the End
By the end of this tutorial, you'll have an AWeber account with a verified sending domain, one list, a signup form or landing page, a three-email welcome sequence and your first newsletter scheduled. That's a complete, working email program.
Plan for an hour or two of focused work, spread over a couple of sessions if you prefer. The longest part is writing, not clicking.
You can follow every step on AWeber's free account, which covers up to 500 subscribers and 3,000 sends a month with one automation. If you'd rather have unlimited automations from the start, choose Plus; both paid plans come with a 14-day trial.
Don't have an account yet? Open one now and follow along step by step.
Try AWeber FreeBefore You Start: Gather These Five Things
A little preparation saves you from jumping between tabs halfway through setup. Have these ready:
- Your sender name. Usually your name or business name, whichever your audience recognizes.
- A sending address on your own domain. Something like [email protected]. Free addresses such as Gmail or Yahoo work poorly for bulk sending.
- Access to your domain's DNS settings. You'll add a couple of records to prove you own the domain. This is usually in your domain registrar or web host's dashboard.
- A physical mailing address. Anti-spam laws require one in your email footer. A business address or registered post box both work.
- Your lead magnet or signup reason. The checklist, guide or discount you'll offer in exchange for an email address.
Step 1: Create Your Account
Go to AWeber's signup page and choose the free account or a paid plan. You'll confirm your email address and set a password.
During signup, fill in your business details accurately. AWeber uses them for your account and your email footers, and incomplete details can slow down getting started.
Once you're in, you'll see the dashboard. Take two minutes to click through the main tabs so you know where messages, subscribers, landing pages and reports live. AWeber also has a getting-started resource area with video tutorials if you prefer to watch along.
Step 2: Set Up Your Sender Details and Verify Your Domain
Before you send anything, set your default "from" name and address, and add your mailing address for the footer. Your messages will look consistent from the very first email.
Next, verify your domain. AWeber walks you through adding SPF and DKIM records to your domain's DNS settings. These records tell inbox providers such as Gmail that AWeber is allowed to send on your behalf, which protects your deliverability.
This step sounds technical but usually takes about 15 minutes: copy each value from AWeber, paste it into your DNS settings and wait for verification. If you get stuck, AWeber's support team can help. Our SPF, DKIM and DMARC setup guide explains what each record does.
Step 3: Create and Name Your List
Every AWeber account starts with a list, which is where subscribers are stored. Give it a clear internal name and a public-facing description so subscribers recognize you.
For most people, one list is enough. Use tags to tell different groups apart, such as people who downloaded a specific guide or customers who bought a product. That keeps everyone in one place and avoids paying twice for people who'd otherwise sit on two lists.
Our guide to AWeber tags and segments explains how to plan a simple tagging system before your list grows.
Step 4: Build a Signup Form or Landing Page
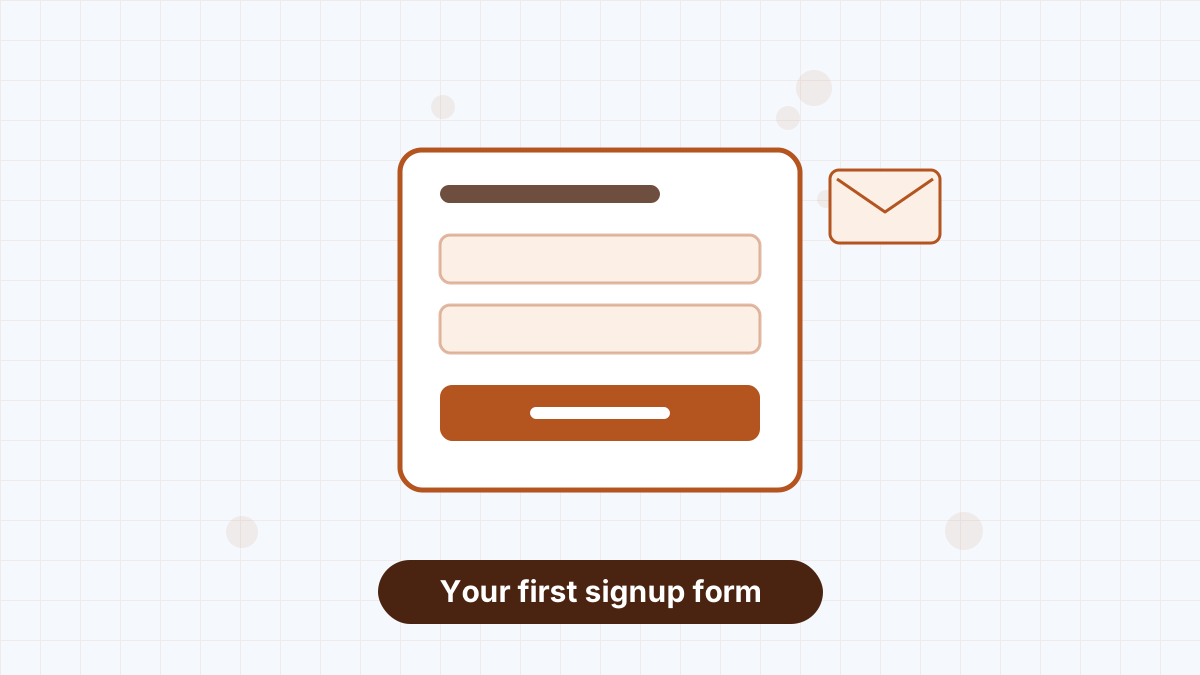
Now give people a way to join. You have two options, and many people use both.
A signup form sits on your website, in a sidebar, at the end of posts or as a popup. AWeber's form builder lets you pick a template, edit the text and copy a small code snippet into your site. WordPress users can use AWeber's plugin instead of pasting code; see AWeber WordPress.
A landing page is a standalone page AWeber hosts for you, so you can share a link from social media, a podcast or a video description. It's the fastest way to start if you don't have a website. See AWeber landing pages.
Whichever you choose, make the promise specific. "Get the 10-minute meal prep checklist" outperforms "Subscribe to our newsletter" because people know exactly what they'll receive.
Step 5: Write Your Welcome Sequence
Your welcome sequence is the series of emails new subscribers receive automatically. In AWeber, you build it as a workflow: a starter that triggers when someone joins, then messages separated by waits.
A simple three-email structure works well:
- Email 1, immediately: deliver the lead magnet, introduce yourself in a few lines and say how often you'll email.
- Wait two days, then Email 2: share your single most useful tip or story related to why they joined.
- Wait three days, then Email 3: point them to a next step, such as a popular article, an offer or a request to reply with their biggest question.
If writing is slow going, AWeber's AI writing assistant can produce a first draft you then edit into your own voice. Our welcome email sequence guide has full examples, and AWeber automation explains the workflow builder in more detail.
Step 6: Test Everything Before Going Live
Testing catches the mistakes that are embarrassing once subscribers see them. Subscribe to your own form with a personal email address and check each step.
Did you receive the confirmation email, if you're using confirmed opt-in? Did the welcome email arrive with the lead magnet link working? Does it look right on your phone? Are the sender name and reply-to address correct?
Then send a test of your second and third emails from the editor. It takes ten minutes and saves you from a broken download link going to your first hundred subscribers.
Step 7: Send Your First Newsletter
Once your welcome sequence is running, write your first broadcast, the one-off email that goes to your whole list. Keep it short: a personal opening, one useful idea and one link.
Choose a subject line that tells people what's inside, preview it in the editor and schedule it for a time your audience is likely to be checking email. A weekday morning in your audience's time zone is a reasonable first guess.
If you blog, consider setting up an auto newsletter from your RSS feed so new posts go out without extra writing. See AWeber RSS to email.
Step 8: Check Your Reports
A few days after your first send, open the report for that email. Look at clicks first, because they show genuine interest. Then check unsubscribes and any replies you received.
Don't worry about comparing yourself with industry averages. Compare each email with your previous ones and note what worked: which subject line, which topic, which call to action.
Our email marketing metrics guide explains which numbers to watch at each stage.
Common Setup Mistakes to Avoid
Most setup problems come from a handful of skipped steps. Watch for these:
- Sending from a free email address. Use an address on your own domain and verify it.
- Skipping the test signup. Always join your own list first.
- Creating a new list for every lead magnet. Use tags instead; you'll thank yourself later.
- Writing a welcome sequence that only sells. Lead with help, then make an offer.
- Forgetting mobile. Most people will read your emails on a phone, so preview there.
What to Do Next
With the basics running, your next moves are growing the list and improving your emails. Start with how to build an email list and lead magnet ideas.
When you outgrow the free account, compare AWeber Lite vs Plus. And if you'd rather have AWeber's team do this setup for you, look at AWeber Done For You.
Follow these steps on AWeber's free account: form, welcome sequence and first newsletter, all in one place.
AWeber Tutorial FAQs
How long does it take to set up AWeber?
Most people can set up a list, a form, a welcome sequence and a first email in one or two hours. Domain verification may take a little longer while DNS changes take effect.
Do I need a website to use AWeber?
No. AWeber hosts landing pages for you, so you can collect subscribers with a shareable link.
Should I use one list or several in AWeber?
Most people should use one list with tags. Separate lists make sense only for completely separate brands or audiences.
Can AWeber help me set up my account?
Yes. AWeber's support team can help with setup questions, and the Done For You service has AWeber's team build your template, landing page and form for you.